
Whether you're new to wig installation or looking to refine your technique, this step-by-step guide will provide you with the knowledge and confidence to achieve a flawless wig installation.
Step 1: Prepare Your Natural Hair
Before installing a wig, it's crucial to properly prepare your natural hair. Start by washing and conditioning your hair to ensure it's clean and well-nourished. If your hair is long, consider braiding it flat against your scalp to create a smooth foundation. For shorter hair, you can use a wig cap to secure any loose strands.
Step 2: Choose the Right Wig Cap
Selecting the right wig cap is essential for a comfortable and secure installation. There are various types of wig caps available, including nylon, mesh, and spandex caps. Choose one that matches your skin tone or opt for a transparent cap for versatility.
Step 3: Adjust the Wig Size
Most wigs come with adjustable straps or hooks to help customize the fit. Start by positioning the wig on your head and adjust the straps until it feels snug but not too tight. This will ensure a secure and natural-looking installation.
Step 4: Apply Adhesive (Optional)
If you prefer a more secure hold, you can use adhesive to keep your wig in place. Apply a few thin layers of wig adhesive or wig glue along your hairline, ensuring not to get it on your natural hair. Allow the adhesive to dry partially before attaching the wig.
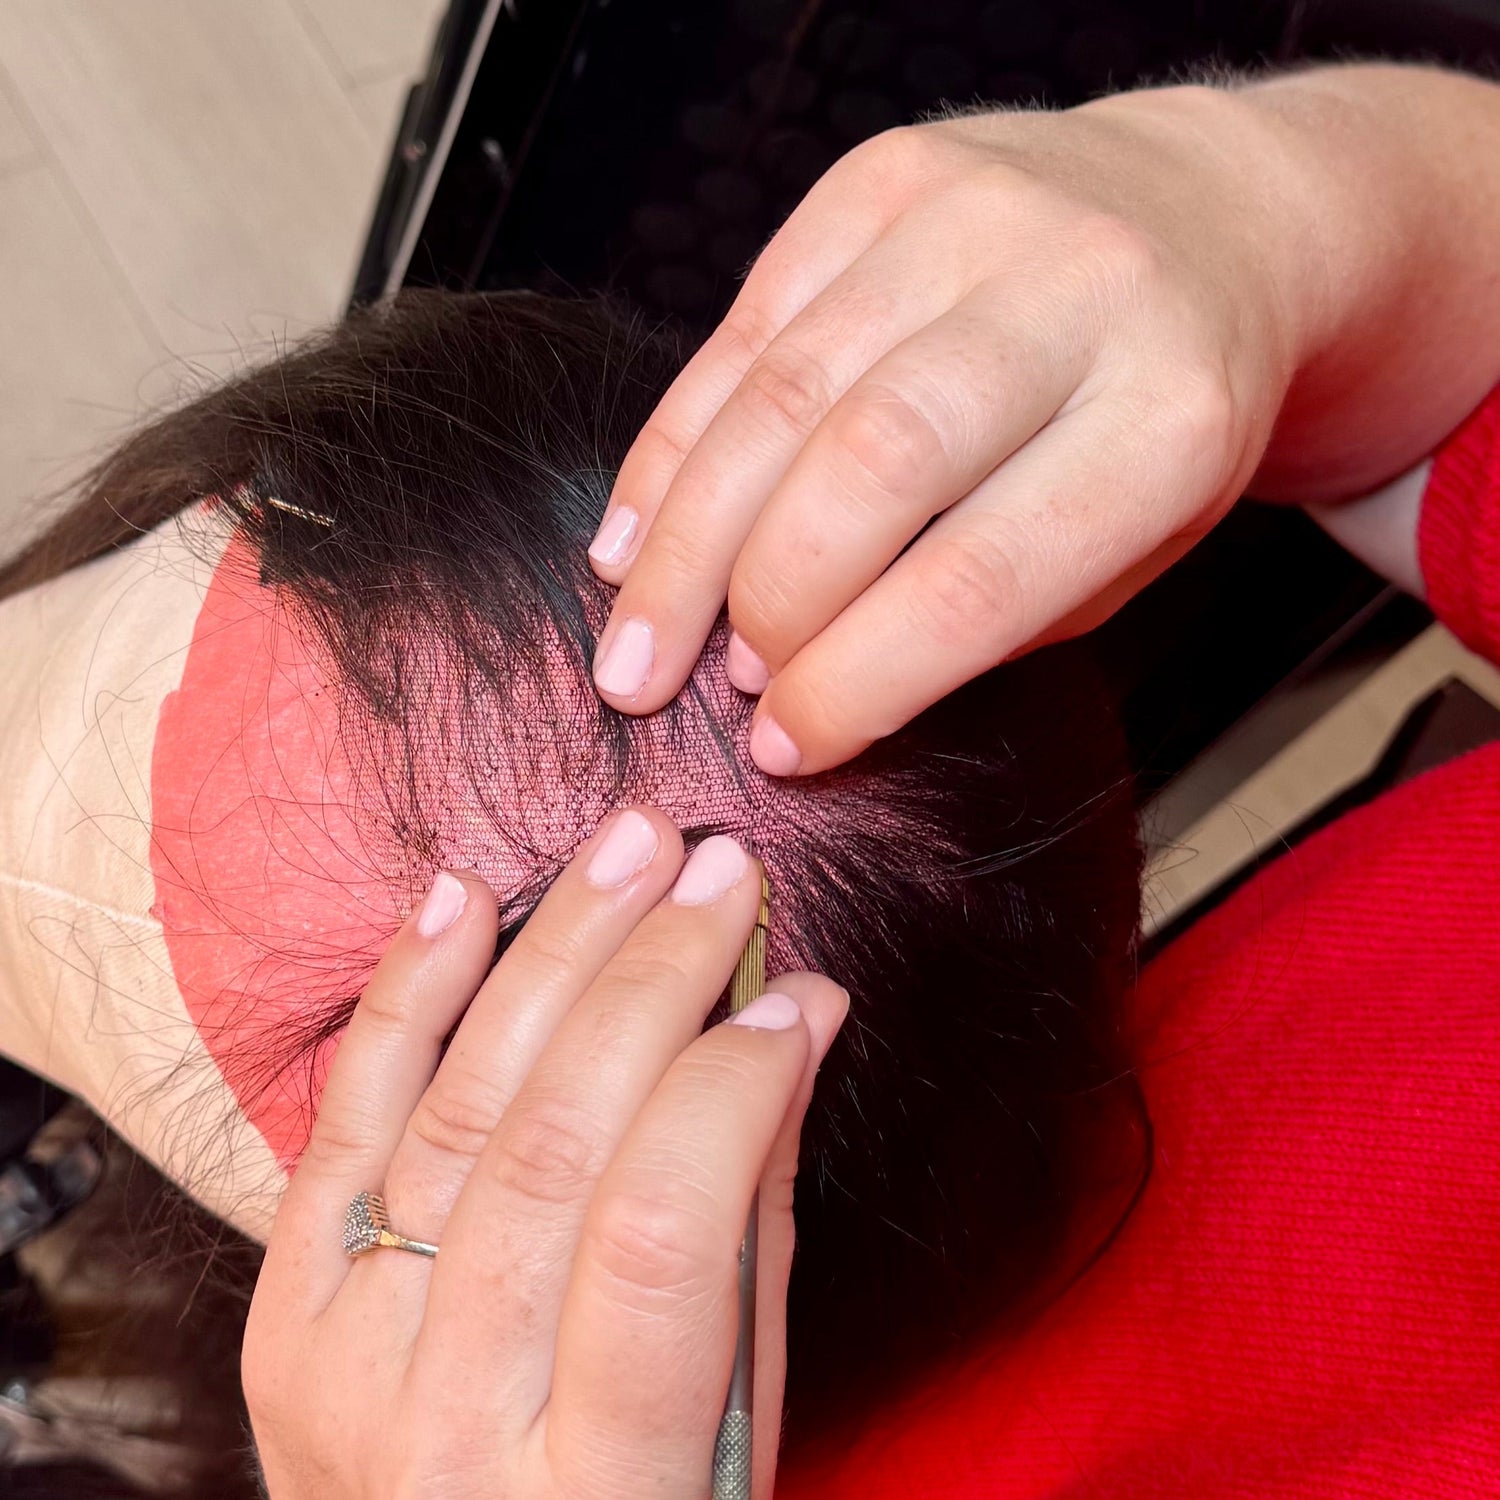
Step 5: Position and Secure the Wig
Carefully position the wig on your head, aligning it with your natural hairline. Gently press the front of the wig onto the adhesive or your hairline, ensuring a seamless blend. Then, adjust the back of the wig to fit snugly against the nape of your neck. Use bobby pins or wig clips to secure any loose areas.
Step 6: Style and Blend
Now that your wig is securely installed, it's time to style and blend it with your natural hair. Use a wig brush or wide-tooth comb to gently style the wig, ensuring it looks natural and well-blended. You can also use heat styling tools on heat-resistant wigs to create your desired look.
Step 7: Final Touches
Once your wig is installed and styled, take a moment to ensure everything looks seamless. Check for any visible wig cap edges or unevenness and make any necessary adjustments. If desired, you can also add accessories such as headbands or scarves to enhance your look.
Installing a wig may seem scary at first, but with the right knowledge and technique, it can be a simple process. By following this step-by-step guide, you'll be able to achieve a flawless and natural-looking wig installation. Remember to be patient, practice, and most importantly, have fun experimenting with different styles and looks!

Tap the banner to reserve your spot!

